Website banners pose a unique challenge when it comes to taking (or finding) photos that will work for them. This short guide provides pointers on how to get the right photo for your website homepage banner.
The problem is that banners are wide…
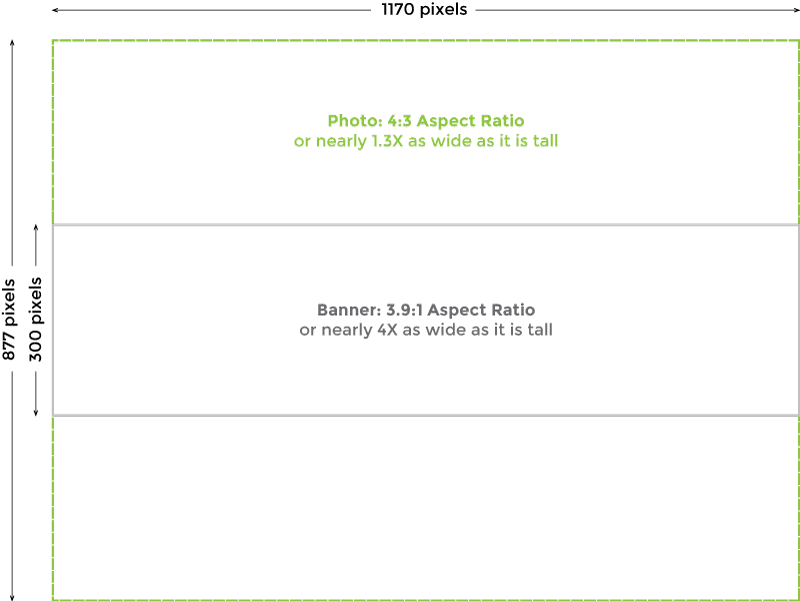
Website banners usually have an extreme widescreen format, where the width of the photo can be 3-4X the height the banner. Take a typical website banner that’s 1170 x 300 pixels:
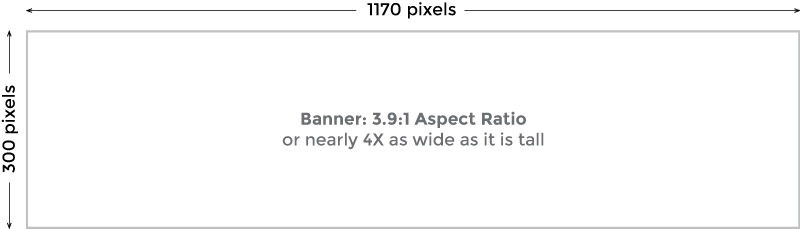
… and most camera photos are not …
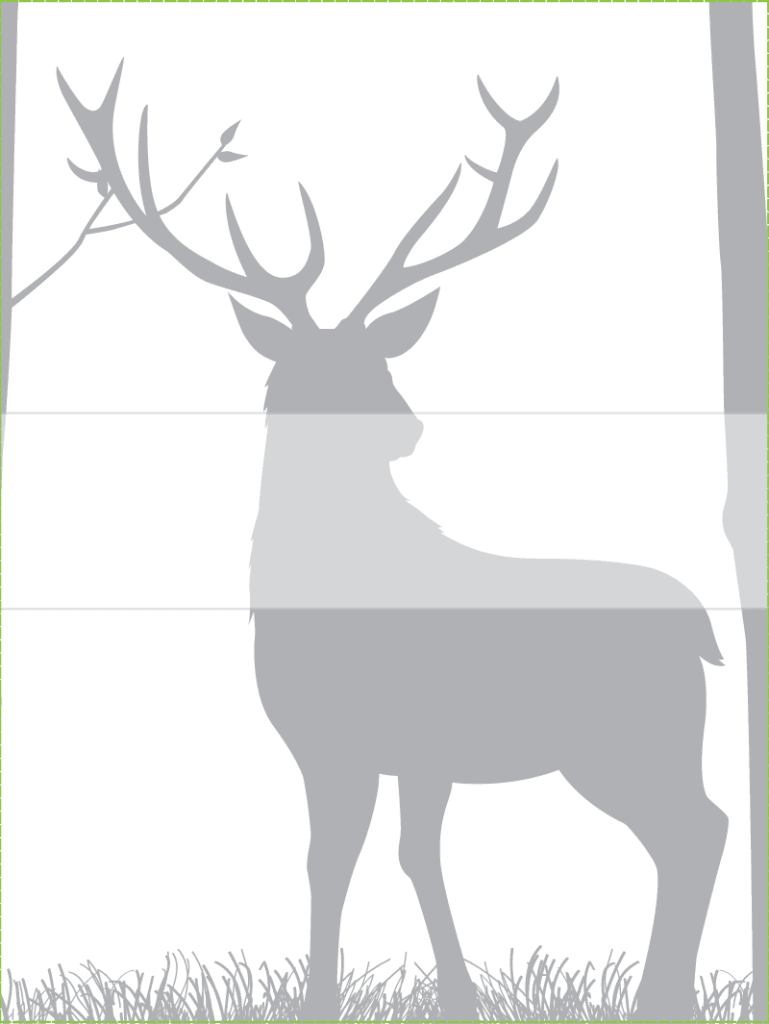
Most cameras have an aspect ratio that’s much closer to square. Here’s a typical digital camera photo overlaid on top of the banner above, for comparison:
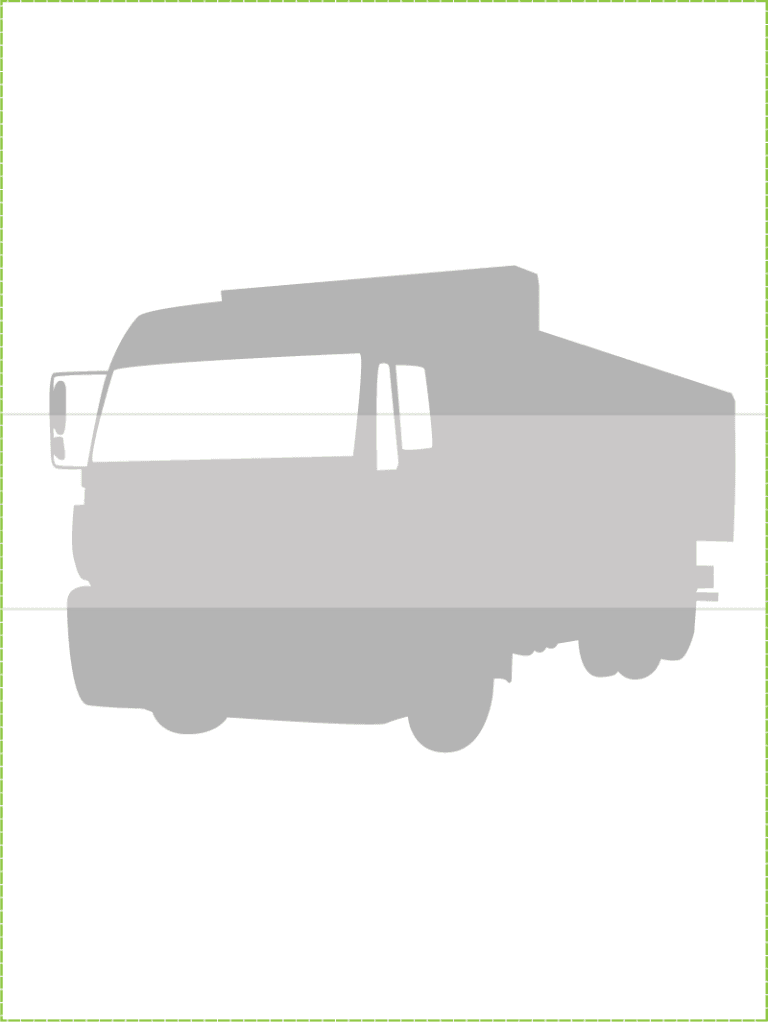
… so you end up with crops like this …
-
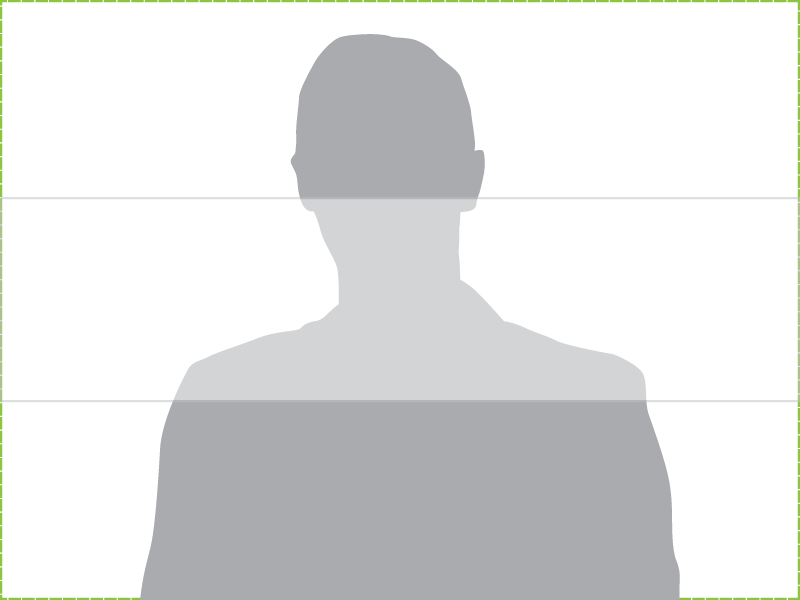
- Even if you move the person down, you’ll be cropping from their forehead to their chin. This extreme close-up effect will look jarring and awkward.
-
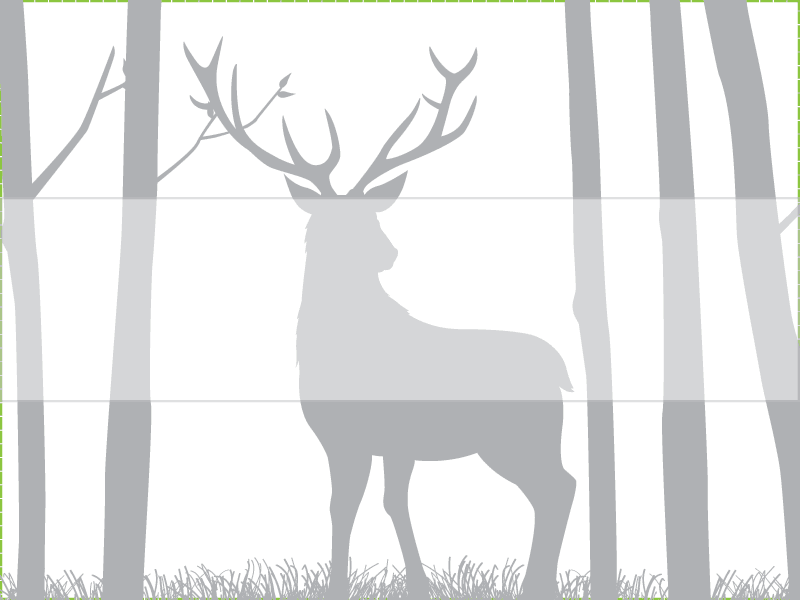
- It’s tough to capture the entire animal. You can get the horns, or its head, or its legs.
-
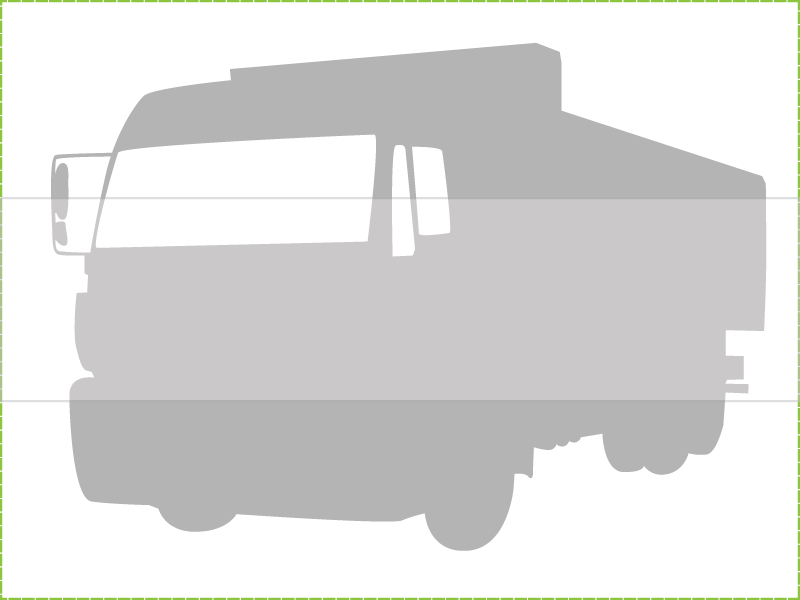
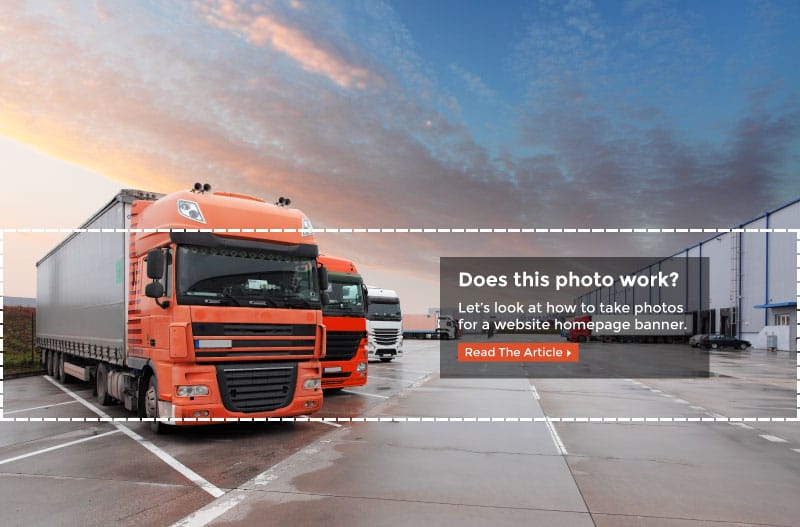
- Nearly impossible to get this commercial truck to show in its entirety.
… vertical photos are even worse …
-

- Most vertical portraits are cropped in tighter, which means in a banner all you’ll get is a chin or a pair of eyes. Creepy.
-
- You’ll see even less of the deer because of how much taller the photo is.
-
- The truck, since it’s fairly square, is not really affected. But it’s still useless.
… and scaling the pictures down doesn’t solve the problem.
-

- This person has no arms. Awesome.
-

- Watch out for the half-tree!
-

- Hello, clip-art.
How to compose your photo for a website banner
1. Stay landscape
Don’t go vertical with your photo. Period.
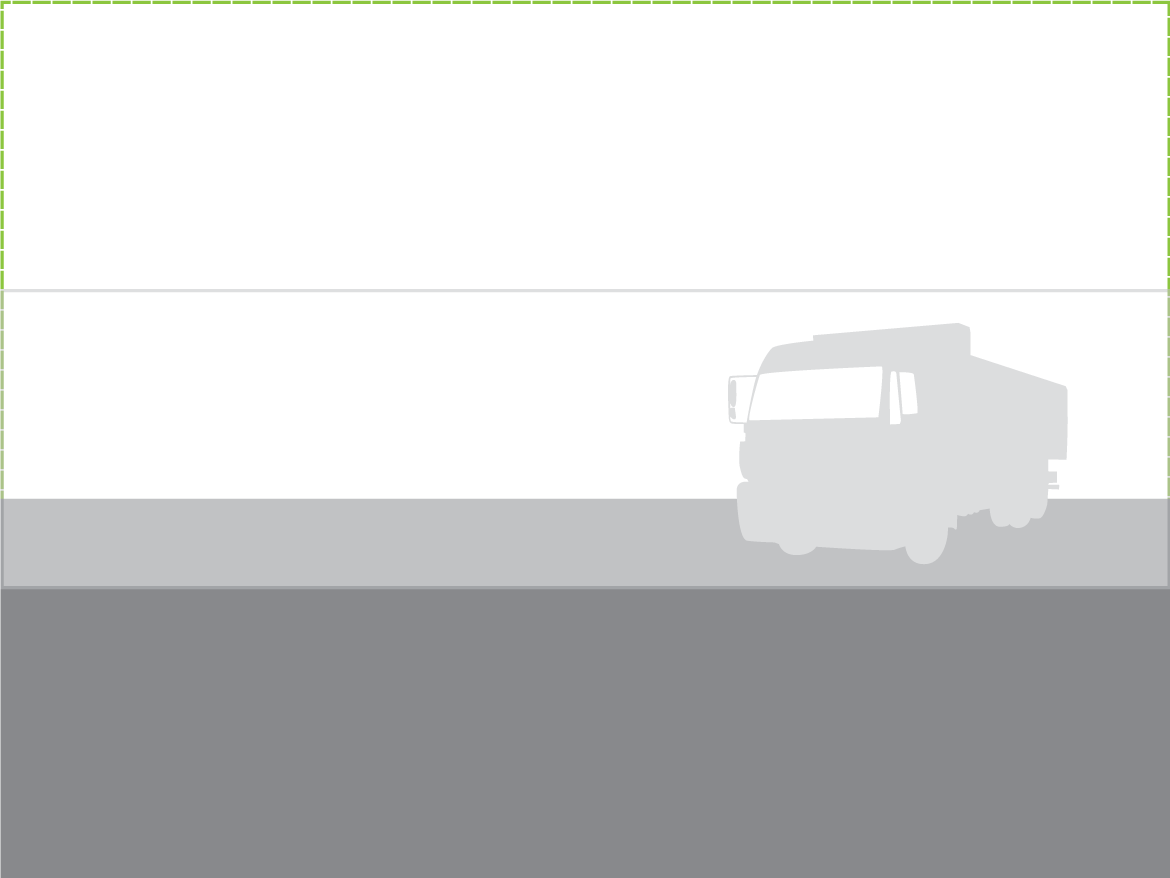
2. Zoom out
Don’t photograph your subject so it fills the entire frame. Zoom way out and get lots of the background in. You’ll need a high enough resolution camera so that when you crop out the subject in the middle, it’s still tall enough to fit the banner (300-500 pixels usually.) This is how you would take the photo of the truck so it can be used effectively in a banner:
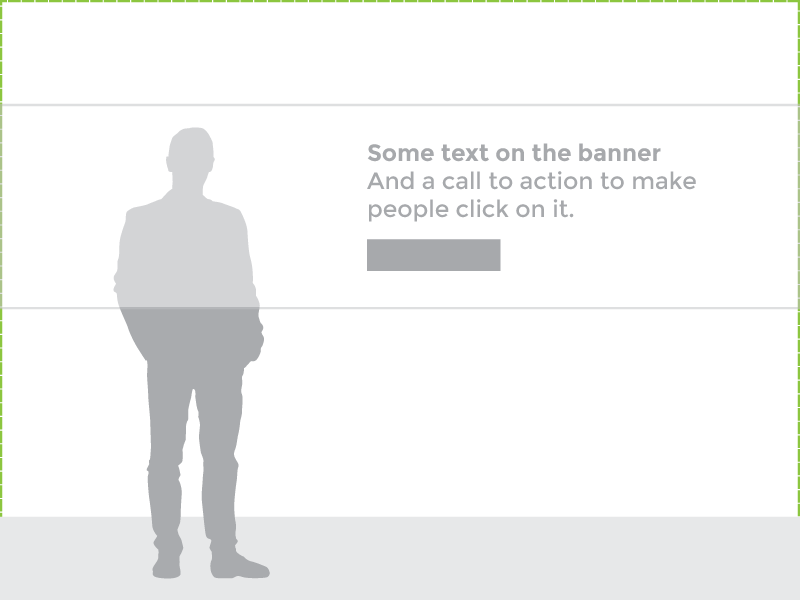
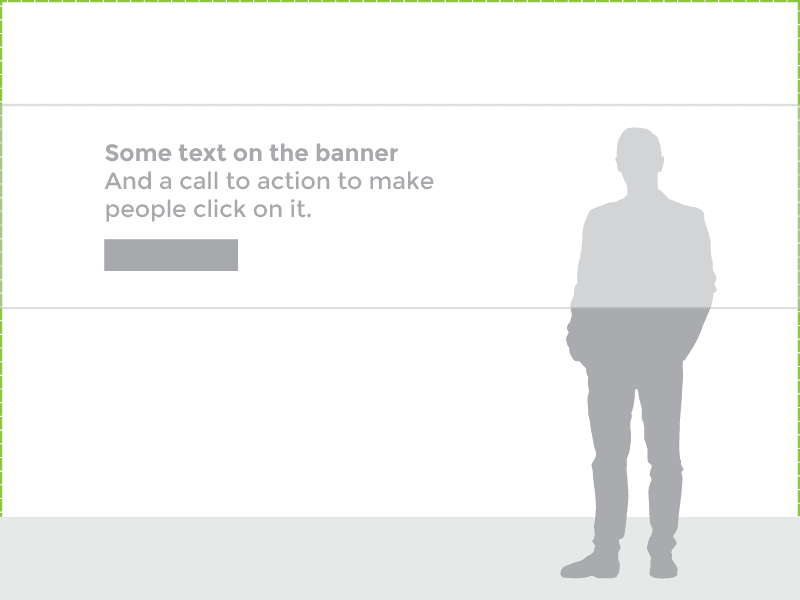
3. Leave room for text
Take the photo with the subject about a third to the left or the right in order to leave room for some text. In fact, you might take a few photos – one with the subject on the left and one on the right to provide a few options. Also, pay attention to the background. If it’s super busy, or has high contrast, it may be more difficult to get text onto it. There are solutions for this, but just be mindful.
-
- Frame the subject about a third to the left
-
- Or the right works too.
4. Try to frame the entire subject in
In the two examples above of the person, we still framed them in from head-to-toe without anything cropped off. This is not always necessary (or possible), but it does provide the designer some extra options like cutting the person out of the background and placing them wherever they need.
5. Avoid cropping the left and right sides of the subject at the same time.
In the photo of the person, this means you can crop them at the chest, and even a bit of the top of the head. You can also crop the left or the right arm, but not both. This tip mainly applies to pictures of people. Certain things, like vehicles for example, won’t look very good with their wheels cropped off. It’s usually best to get vehicles and objects in their entirety, with some margins to include ample background to work with.
-

- Cropped on the bottom works
-

- Cropped on the bottom & right works
-

- Cropped on the bottom and top works
-

- But cropped on the left and right doesn’t work
6. Panoramics
Most smartphones can take panoramic shots, whether through an app or simply through built-in tools. If you’ve got a steady hand and a great scene, these can sometimes work well too. Just be wary of moving objects and artifacts created by hand movement. In any case, they’re usually in an ideal proportion for a website banner!
Have fun!
Hopefully this guide helps you when selecting or taking photos for your website. And maybe explains why your designer keeps nagging you for a different photo 😉